
Easy Fermented Cabbage (Sauerkraut) Recipe
Homemade sauerkraut is one of the best “gateway” fermentation projects. It requires only two ingredients, a bit of patience, and a little “massage” therapy for your cabbage.
Here is a foolproof guide to getting it right on your first try.
The Ingredients
For a standard 1-litre wide-mouth glass jar (like a Consol jar), you will need:
1 medium head of Green Cabbage: (approx. 1kg).
15ml to 20ml (approx. 3-4 tsp) of Fine Sea Salt: Use a high-quality salt without iodine or anti-caking agents if possible (Khoisan or similar non-iodized sea salts work beautifully).
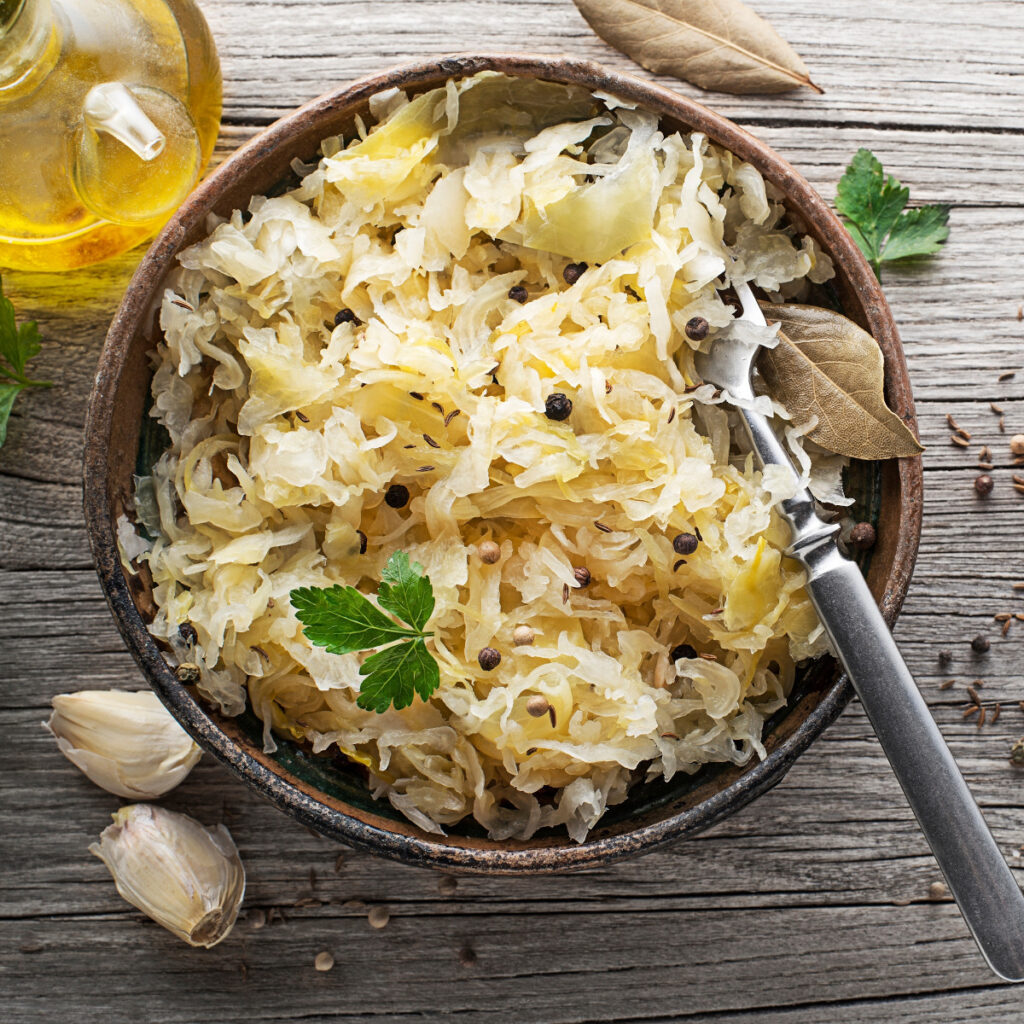
Optional: 5ml (1 tsp) of caraway seeds or coriander seeds for a local twist.
Step-by-Step Instructions
1. Prep and Shred
Discard any wilted outer leaves. Pro Tip: Peel off one large, healthy outer leaf and keep it whole; you’ll need it to “plug” the jar later. Rinse the cabbage, quarter it, and cut out the hard core. Slice the cabbage into thin ribbons (about 2mm to 3mm thick).
2. The Salt Massage
Place your shredded cabbage in a large mixing bowl and sprinkle the salt over it.
Using clean hands, massage the salt into the cabbage vigorously.
Continue for 5–10 minutes. You are looking for the cabbage to release its juices (the brine).
It’s ready when the cabbage looks “bruised” and wet, and you have a visible puddle of liquid in the bowl.
3. Pack the Jar
Pack the cabbage into your 1-litre jar a handful at a time. After each handful, use your fist or a “pap-lepel” (wooden spoon) to press it down firmly.
The Golden Rule: The cabbage must be completely submerged in its own juice. Air is the enemy!
4. Submerge and Seal
Take that whole cabbage leaf you saved earlier and fold it to fit inside the jar, placing it on top of the shredded bits. Place a weight (like a small, clean glass pebble or a smaller jar filled with water) on top to keep everything under the brine.
Need more liquid? If the juice doesn’t cover the cabbage, dissolve 5ml of salt into 250ml of filtered water and pour in just enough to submerge everything.
5. Ferment
Cover the top with a piece of muslin cloth or a clean dishcloth secured with a rubber band. This keeps the fruit flies out while letting the gases escape.
Keep the jar on your kitchen counter out of direct sunlight.
In our warmer South African climate, fermentation often happens faster than in Europe!
The Timeline
3–5 Days: In a warm Mzansi kitchen, you’ll see bubbles starting quite quickly.
7–10 Days: Start tasting. If you like the “zing,” it’s ready.
21 Days: If you prefer a very sour, traditional ferment, let it sit longer.
Once you’re happy with the taste, remove the weight and the top leaf, screw on a lid, and move it to the fridge. This slows the fermentation down and keeps it crisp.
Here is how to enjoy it best
Since you’ve gone to the effort of fermenting your own “Suurkool,” you’ll find it’s incredibly versatile. It’s not just a side dish; it’s a massive flavour (and probiotic) booster for almost any meal.
In South Africa, where we love a good braai and hearty stews, sauerkraut fits right in.
1.The Classics
The Ultimate Hot Dog/Boerewors Roll: Skip the sugary store-bought relish. Top your boerie or frankfurter with a generous heap of cold sauerkraut and a smear of hot English mustard. The acidity cuts right through the richness of the meat.
The Reuben Sandwich: This is the “gold standard” for sauerkraut. Toast rye bread with Swiss cheese, corned beef (or pastrami), Thousand Island dressing, and a thick layer of kraut.
2.South African Pairings
With a Braai (BBQ): It’s the perfect crunchy companion to fatty cuts of meat like pork belly, lamb chops, or pork sausages. It acts as a “palate cleanser” between bites.
Side for Eisbein: If you’re making a traditional crispy Eisbein (pork knuckle), sauerkraut is non-negotiable. The sourness balances the salty, fatty pork perfectly.
Stirred into Mash: For a variation of the Dutch Stamppot, mix a few tablespoons of sauerkraut into your buttery mashed potatoes. It adds a surprising tangy lift.
3.Modern & Healthy Ways
In Grain Bowls: Add a scoop to a bowl of quinoa, roasted sweet potato, avocado, and chickpeas. It adds the “acid” element that every good salad needs.
On Avocado Toast: Top your mashed smashed avo on sourdough with a forkful of kraut and a sprinkle of chili flakes.
The “Straight Up” Snack: Many fermentation fans (myself included) just eat a tablespoon or two straight from the jar in the morning. It’s a fantastic way to wake up your digestive system.
Two Pro-Tips for Enjoyment:
Don’t Cook It (Unless You Have To): To get the probiotic benefits (the “good bacteria”), eat it raw or added to warm food right at the end. High heat kills the live cultures.
Use the Brine: Don’t throw away the juice in the jar! It’s “liquid gold.” Use a splash of it in salad dressings or even as a tangy addition to a Bloody Mary.
Enjoy!!!